Although a few weeks have passed, I have not stopped thinking about
Girls Make It Day #2. The day went beyond my expectations. About mid day, the girls just took charge of their own learning and started flying past what we had planned, moving beyond bling, beyond blink, and making flowers fade.
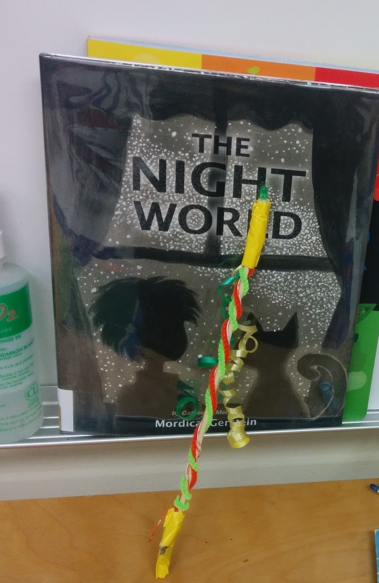
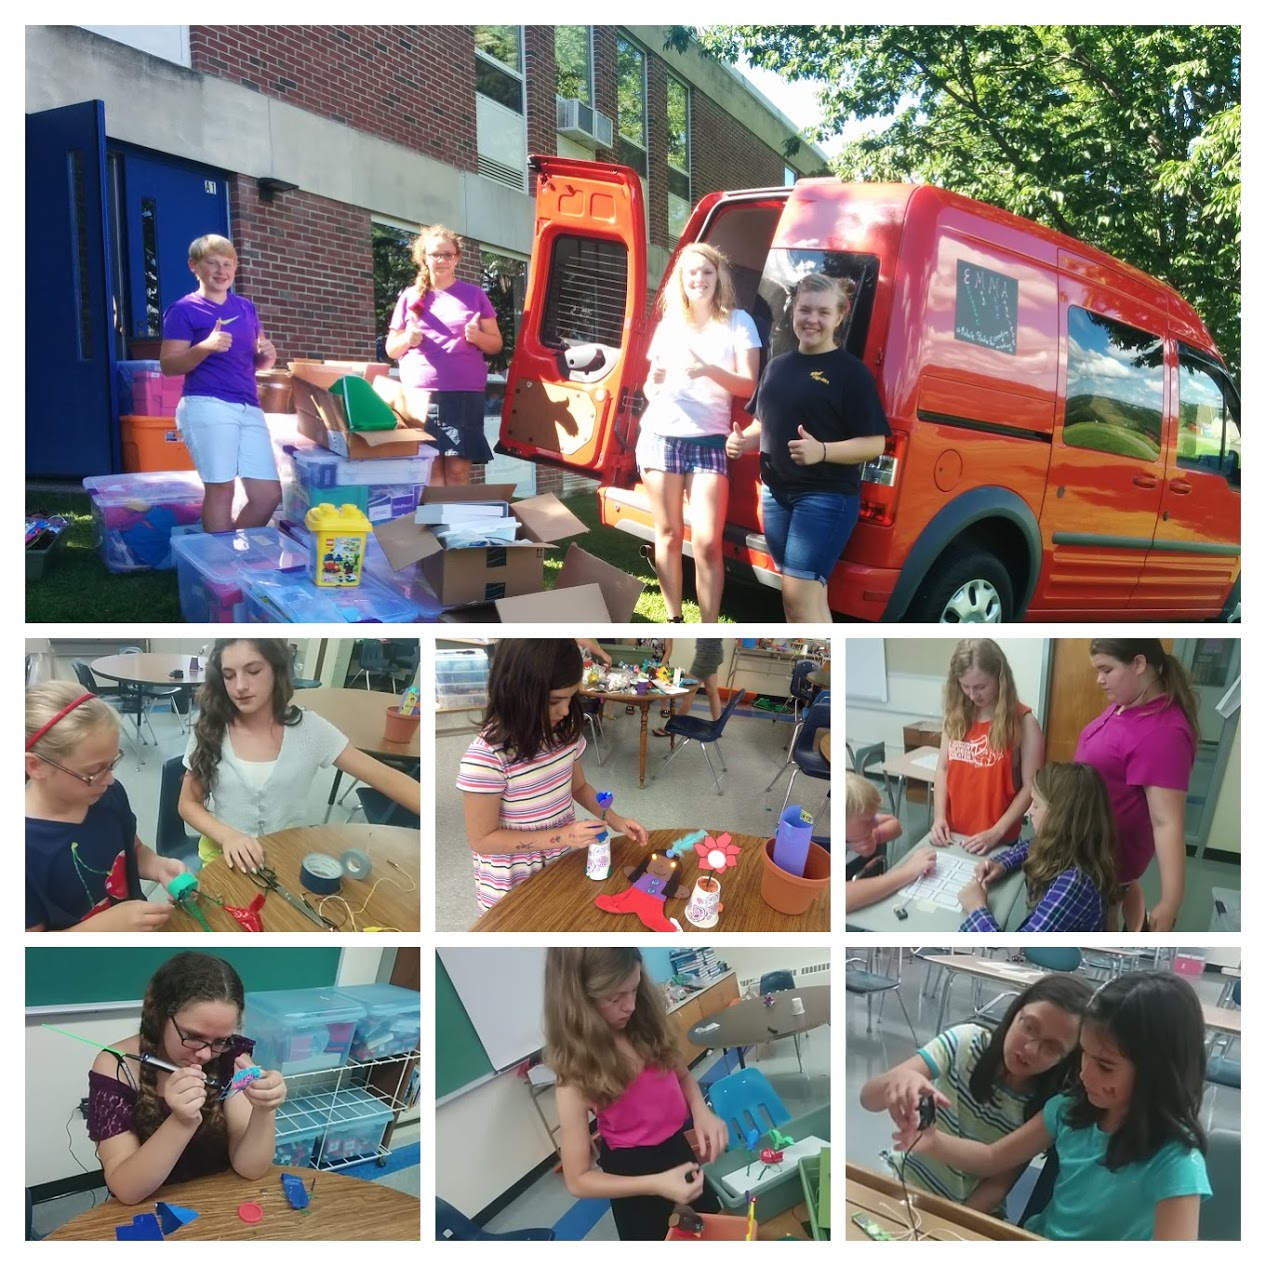
Teams of two middle school girls and one teacher/mentor arrived at the Generator with their flowers in hand ready to learn to code. Each participant was asked to bring two hand crafted flowers to the event that included an LED in the design. The design challenge was meant to help the girls apply previous learning about circuits (whether it be the
first Girls Make IT session, school or club activities, or their own self-exploration of circuits). The design challenge mostly yielded a wide variety of origami style flowers.
While the team leader brought their laptop to the tech check station to make sure that Arduino was properly installed and ready to go, the rest of the team created a paper flower with their team member names and added it to a white garden trellis. (this would later serve as attribution to the finished product we hoped for by the end of the day ~ a collaborative community flower garden).


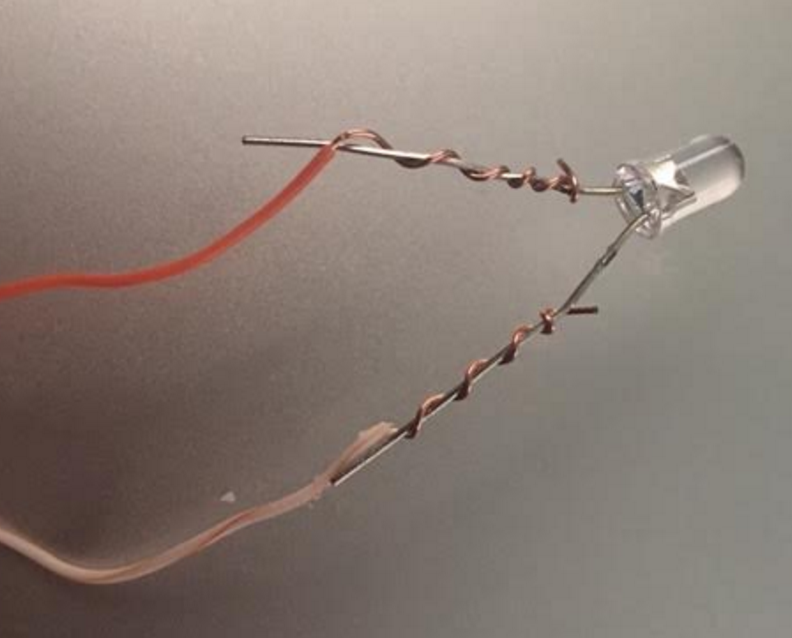
During introductions, each team shared their flower designs and how they learned to make it and then immediately launched into securing the LED to their flower using floral tape and a green wooden stem. This served as the perfect blend of wire and insulator for our flower project. Although the two pieces of floral tape initially connected the LED leads to cell battery, it wouldn't be long before the leads were attached to
a LilyPad Arduino board using alligator clips.
The
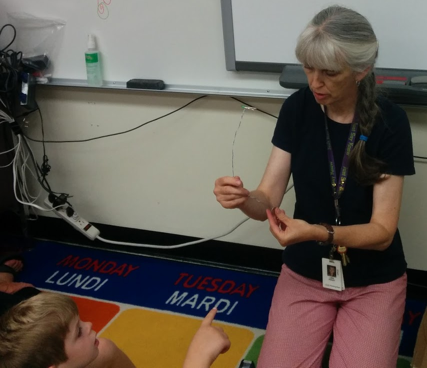
coding lesson that followed was interspersed with making, manipulating the Arduino blink scheme and playing out computer science unplugged activities where the girls learned about variables by 'programming' their teacher to sing and 'programming' themselves to follow Arduino code using finger flashlights.
One of the goals I had for the workshop was that every girl (and their teacher) would not only be able to use the Arduino code to control their flower, but that they would also UNDERSTAND each line of the code they used. Too often, students are encouraged to 'copy' a snippet of code without understanding the various elements. It wasn't long before everyone had mastered the following commands and were using them to code their own flower arrangements.


Although our goal was to move into learning how to use
functions in their code, the girls had their own idea. One team DISCOVERED the
FADE Arduino scheme and before we knew the teams took off into their own self directed learning, teaching each other to
blink and
fade flowers. Their comfort level grew as they tried different sequences of patterns to give each flower its own unique presence in their flower arrangement. Watching the collaboration in the room was absolutely delightful and reminded me of a time, not so long ago, when I had my own classroom of students discovering, uncovering, and constructing together. My experience taught me that this was the perfect moment to let go, step back, and watch the learning happen rather than redirect it to next phase of the lesson. This is what I was aiming for but didn't anticipate it coming so early in the day.
But it also meant that we didn't get to "MY" next step in the lesson
(FUNCTIONS) with the whole group, but I did get to teach, Maxine, our high school role model/mentor how to use functions to help each girl add a contribution to a collaborative community flower box. She was a quick study and jumped right into a leadership role into our final activity for the day.
After each team had created and coded their own flower pot with their first flower creation, it was time for them to contribute their second flower to the community garden (complete with code).
We used window boxes,
a Lilypad arduino, alligator clips, cardboard, and fake moss for our design and used
Functions to cycle through snippets of codes written by our middle school girls. The results -- two flower boxes that were made with code by our middle school girls that would become a traveling exhibit to inspire others. First step for our traveling exhibit would be the Generator Birthday Bash!
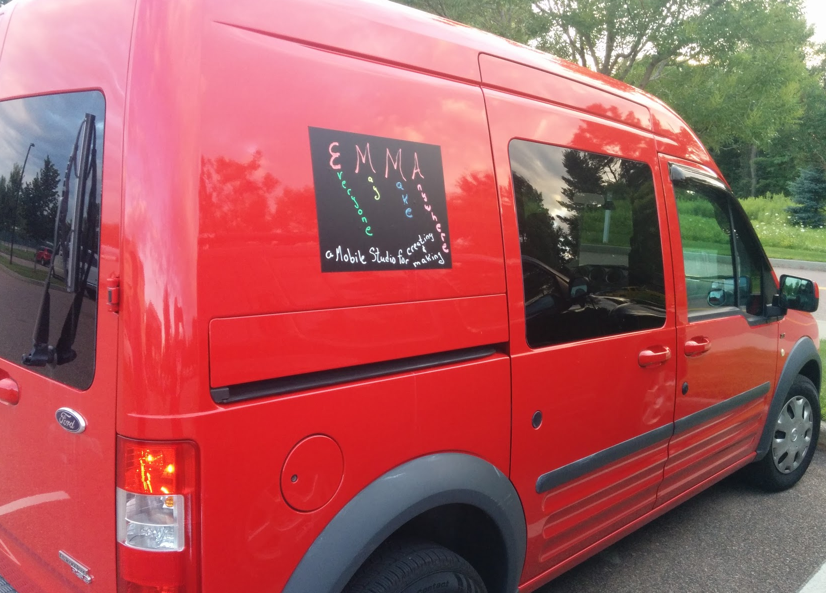
.jpg) |
| Our Exhibit at the Generator Birthday Bash |
.jpg)
We ended the day debriefing, challenging them to complete
the 20 hour Code.org course and use their take home kit to continue exploring the power of code and keep on making. The kit included 2
Lilypad simple arduinos and one
LilyPad Development board, which we strongly suggested they keep intact (NOT break apart) to practice their coding skills. We also provided them a sneak preview of where we hope to go next (adding sensors and motors) by showing them the robotic flower prototype created by our fantastic high school mentor, Maxine. The importance of having Maxine as a role model can not be underestimated. She shared her recent acceptance to Bucknell University, her experience in the Essex Robotic Club, and offered advice for our young students about steps they could take to shape their future. She even started developing the leadership skills of one of the middle school girls, Eva, who used today's events to step into a new role as a middle school leader/mentor.
Today left me inspired to keep working on providing opportunities for learning, mentoring, networking, leadership development that help create a STEM pipeline for girls. Our goal is to announce some new Girls Make It session, including summer camp opportunities on this site, and also at
TechSavvy Girls and
Vermont Works for Women website.
Many thanks to
to the
Generator for providing the space for this fantastic day of learning,
to
Maxine for the robotic flower design and for being an inspiring high school role models
to Eva for being our first middle school leaders
to the teachers and middle school girls who created such beautiful flower designs and absorbed the coding lesson like sponges reinforcing my beliefs that making beautiful things is an onramp to increasing the number of girls who code.
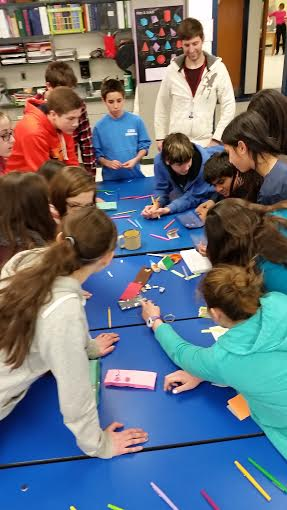 The middle school girls from Essex had been very active in spreading maker centered learning to others in their school. Maya and Grace modeled and presented the switch book project to a group of 12 eager, new classmates.
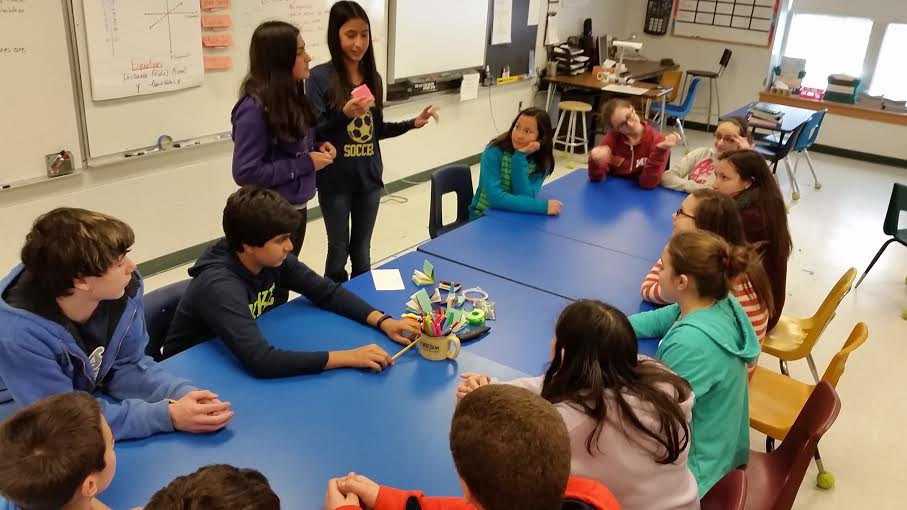


.jpg)


